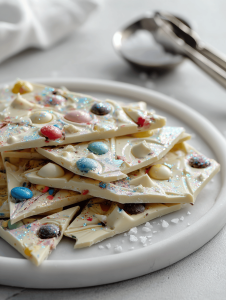
Halloween is a wild card—sometimes you want elegant, sometimes you want chaos. This bark is that perfect middle ground: a little spooky, a little sweet, and a whole lot of fun to make. It’s a no-fuss way to add some homemade flair to your spooky night.
Why this Halloween Bark keeps calling me back
It’s unpredictable—each batch turns out slightly different, which keeps the process exciting. Plus, it’s so forgiving—tweak toppings or the type of chocolate and still end up with a treat worth sharing.
Ingredient breakdown: what makes this bark special
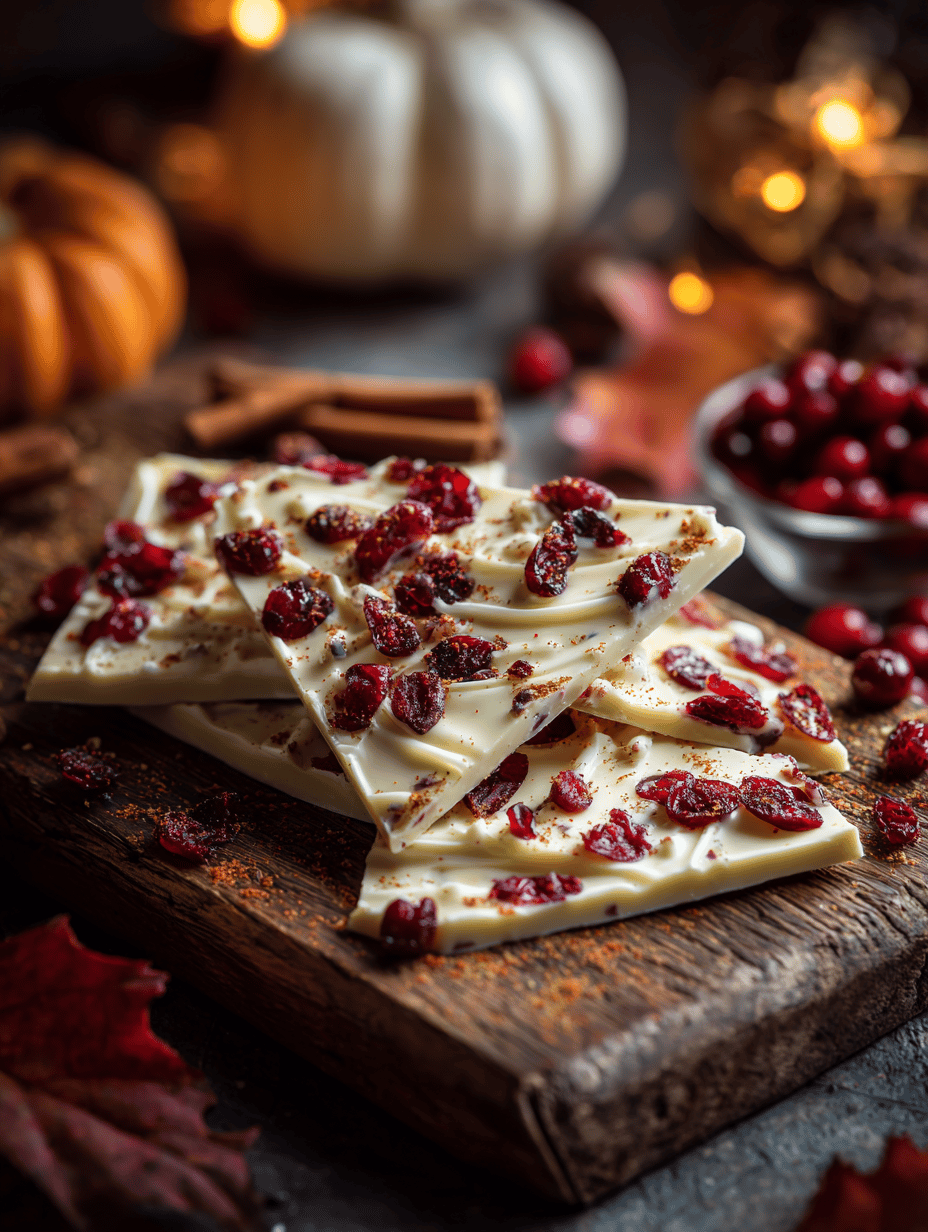
- Chocolate (white, dark, or mixed): The base that melts into a smooth, rich canvas—use good quality for best flavor.
- Candy or nuts: Add crunch and contrast—think mini pretzels, M&Ms, or chopped pecans.
- Edible glitter or sprinkles: A shimmer of spooky—think black, orange, or shimmer powders for extra glam.
- Sea salt flakes: A tiny pinch enhances sweetness and deepens flavor.
- Decorative candies: Gummy eyes or pumpkin shapes make it truly festive.
Tools of the trade for spooky chocolate treats
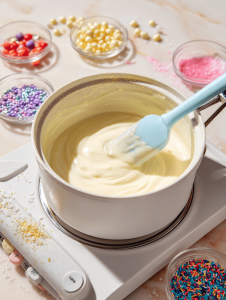
- Double boiler or microwave-safe bowl: For gently melting chocolate without scorching.
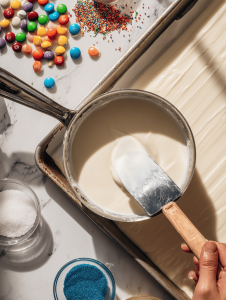
- Spatula: To spread melted chocolate evenly.
- Baking sheet lined with parchment: To hold the bark while it sets.
- Sharp knife or hands: To break the bark into shards.
Step-by-step: Crafting your creepy, crunchy Halloween bark
Step 1: Line a baking sheet with parchment paper. Prepare for a quick, mess-free spread.
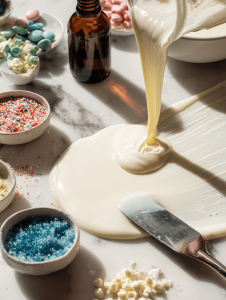
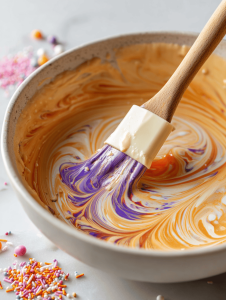
Step 2: Melt your chocolate (white, dark, or a mix) in a heatproof bowl over a double boiler or in short bursts in the microwave, stirring until smooth.
Step 3: Pour melted chocolate onto the prepared sheet. Use a spatula to spread it into an even layer, about 1/4 inch thick.
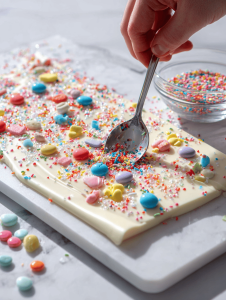
Step 4: While still warm, sprinkle on candies, nuts, or edible glitter. Press lightly to set them into the chocolate.
Step 5: Let the bark cool at room temperature or in the fridge for about 30 minutes until firm.
Step 6: Once set, break into irregular shards with your hands or a sharp knife. Serve or store in an airtight container.
Cooking checkpoints to watch out for
- Chocolate should be melted smooth, without lumps or burning. Use low heat and stir constantly.
- Sprinkle toppings evenly so they stick well, but don’t overload—you want to see the chocolate.
- The bark should be firm but not brittle; if it cracks too easily, give it a few more minutes in the fridge.
- Watch the edges for slight caramelization—if they darken too much, the chocolate might be burnt.
Common Halloween Bark Mishaps & How to Fix Them
- Chocolate scorched or seized.? Use low heat and stir constantly to avoid burning the chocolate.
- Toppings sliding off or not sticking.? Sprinkle toppings immediately after pouring, while still warm.
- Bark stays soft or sticky.? Chill the bark until fully firm—don’t rush the setting process.
- Jagged, uneven shards.? Use a sharp knife to cut after chilling for clean breaks.
Halloween Chocolate Bark
Ingredients
Equipment
Method
- Line a baking sheet with parchment paper, ensuring a smooth, flat surface for your bark.
- Chop your chocolate into smaller pieces if necessary, then melt it in a double boiler or microwave in short bursts, stirring until completely smooth and glossy.
- Pour the melted chocolate onto the prepared parchment-lined sheet, spreading it evenly with a spatula into about a 1/4-inch thick layer.
- Sprinkle your chosen candies, nuts, and edible glitter evenly over the warm chocolate, pressing lightly to help them stick.
- Finish by adding a tiny pinch of sea salt flakes on top for a flavor boost.
- Allow the bark to cool at room temperature or place it in the fridge for about 30 minutes until it’s fully set and firm to the touch.
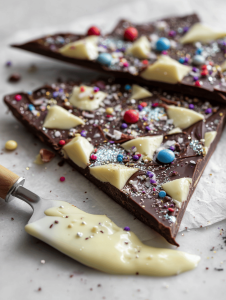
- Once cooled, break the bark into irregular shards using your hands or a sharp knife, revealing the colorful toppings inside.
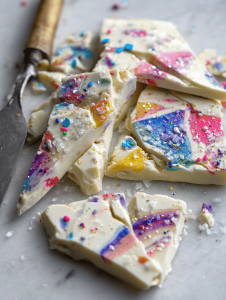
- Arrange the shards on a serving platter, showcasing their shiny, decorated surfaces, ready to serve and enjoy!