I stumbled on this idea during a chaotic Halloween bake-off, where I needed something quick yet charming. The idea of transforming simple cupcakes into tiny witch hats felt just right—quirky, fun, and a bit spooky. It’s a project that invites creativity, especially when you get to decorate each hat with little details.
Why I Keep Making These Little Witch Hats
They’re a hit at parties, a quick creative outlet, and oddly satisfying to assemble. Each batch feels like a tiny craft project, and the smiles when people see them are priceless. Plus, they’re simple enough to adapt—glitter, sprinkles, or even edible gold make each batch a new adventure.
Inside the Magic: Key Ingredients for Witch Hat Cupcakes
- All-purpose flour: Gives structure, a neutral base that’s easy to tweak with cocoa or spices.
- Granulated sugar: Sweetens and tenderizes; use less if you want a more subdued sweetness.
- Baking powder: Leavens the batter, helps hats keep their shape.
- Eggs: Bind the mixture, add richness, and stability.
- Butter: Adds moisture and flavor—use unsalted for control.
- Vanilla extract: Brightens everything with a subtle, aromatic note.
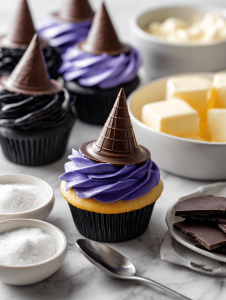
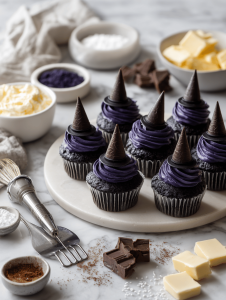
- Chocolate or colored candy melts: Perfect for decorating the hat brim and accents—consider dark or bright shades for contrast.
Tools of the Trade for Witch Hat Magic
- Mixing bowls: Combine ingredients smoothly and efficiently.
- Electric mixer or whisk: Ensure a uniform, fluffy batter.
- Muffin tin and paper liners: Shape and hold the cupcakes as they bake.
- Piping bags and tips: Create the hat shapes and decorative accents.
- Cooling rack: Cool cupcakes evenly and prevent sogginess.
Crafting the Perfect Witch Hat Cupcakes: Step-by-Step
Step 1: Preheat your oven to 180°C (350°F).
Step 2: Line a muffin tin with paper liners.
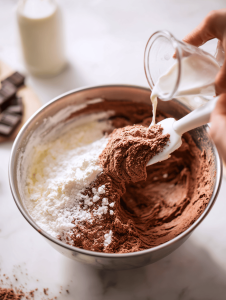
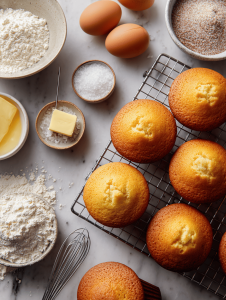
Step 3: Prepare the cupcake batter: mix flour, sugar, baking powder, salt, eggs, butter, and vanilla until smooth.
Step 4: Fill each liner about two-thirds full.
Step 5: Bake for 18-20 minutes, until a toothpick inserted comes out clean.
Step 6: Let the cupcakes cool completely on a wire rack.
Catching the Magic: Tips for Perfect Witch Hat Cupcakes
- Ensure cupcakes are fully cooled before decorating to prevent melting.
- Use a sturdy piping bag for clean, sharp hat shapes.
- Check oven temperature with an oven thermometer for even baking.
- Bake until the tops are golden and a toothpick tests clean.
Oops Moments: Common Mistakes and How to Fix Them
- Batter looks lumpy and uneven.? Use room temperature ingredients to avoid lumps.
- Cupcakes are over-baked or unevenly risen.? Adjust oven rack to middle for even heat.
- Hat shapes are uneven or sagging.? Pipe with steady pressure and a consistent motion.
- Decorations melt or slide off.? Ensure cupcakes are cooled completely before decorating.
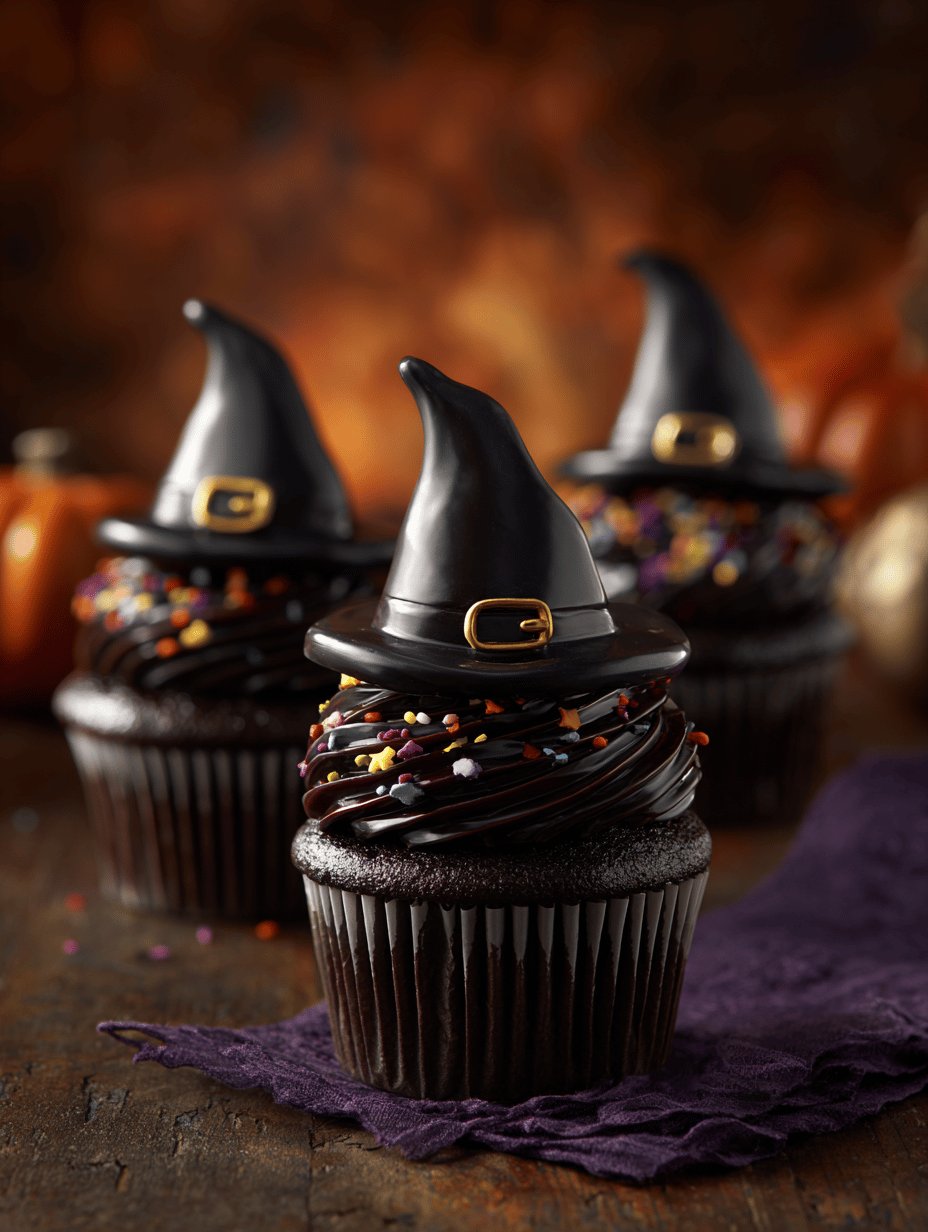
Witch Hat Cupcakes
Ingredients
Equipment
Method
- Preheat your oven to 180°C (350°F) and line a muffin tin with paper liners.
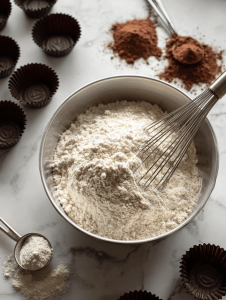
- In a large mixing bowl, whisk together flour, sugar, baking powder, and salt until well combined and airy.
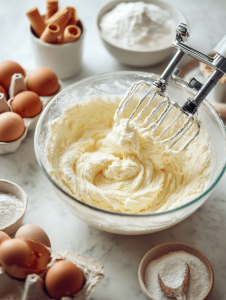
- Add eggs, melted butter, and vanilla extract to the dry mixture. Whisk everything together until the batter is smooth, shiny, and slightly thickened.
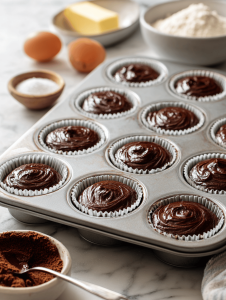
- Divide the batter evenly among the paper liners, filling each about two-thirds full. The batter should look fluffy and slightly domed.
- Bake the cupcakes for 18-20 minutes, or until a toothpick inserted into the center comes out clean and the tops are golden.
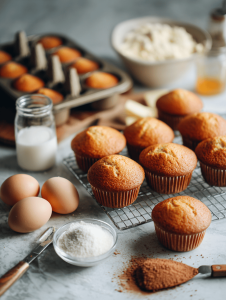
- Remove the cupcakes from the oven and transfer them to a cooling rack. Let them cool completely until they feel firm and are no longer warm to the touch.
- While the cupcakes cool, melt the candy melts in a microwave-safe bowl in 30-second intervals, stirring until smooth and glossy.
- Fill a piping bag fitted with a round tip with the melted candy melts. Pipe a small dollop of chocolate onto the center of each cupcake to create the base of the hat.
- Using the piping bag, pipe a tall, pointed cone on top of the dollop to form the hat's peak, shaping it carefully as you go.

- Optional: Decorate the brim of each hat with additional candy melts, sprinkles, or edible glitter for extra charm and whimsy.
- Allow the decorated cupcakes to set at room temperature for about 15 minutes until the candy is firm and shiny.
- Enjoy these delightful, spooky treats as they are or serve them at your next Halloween party for guaranteed smiles!