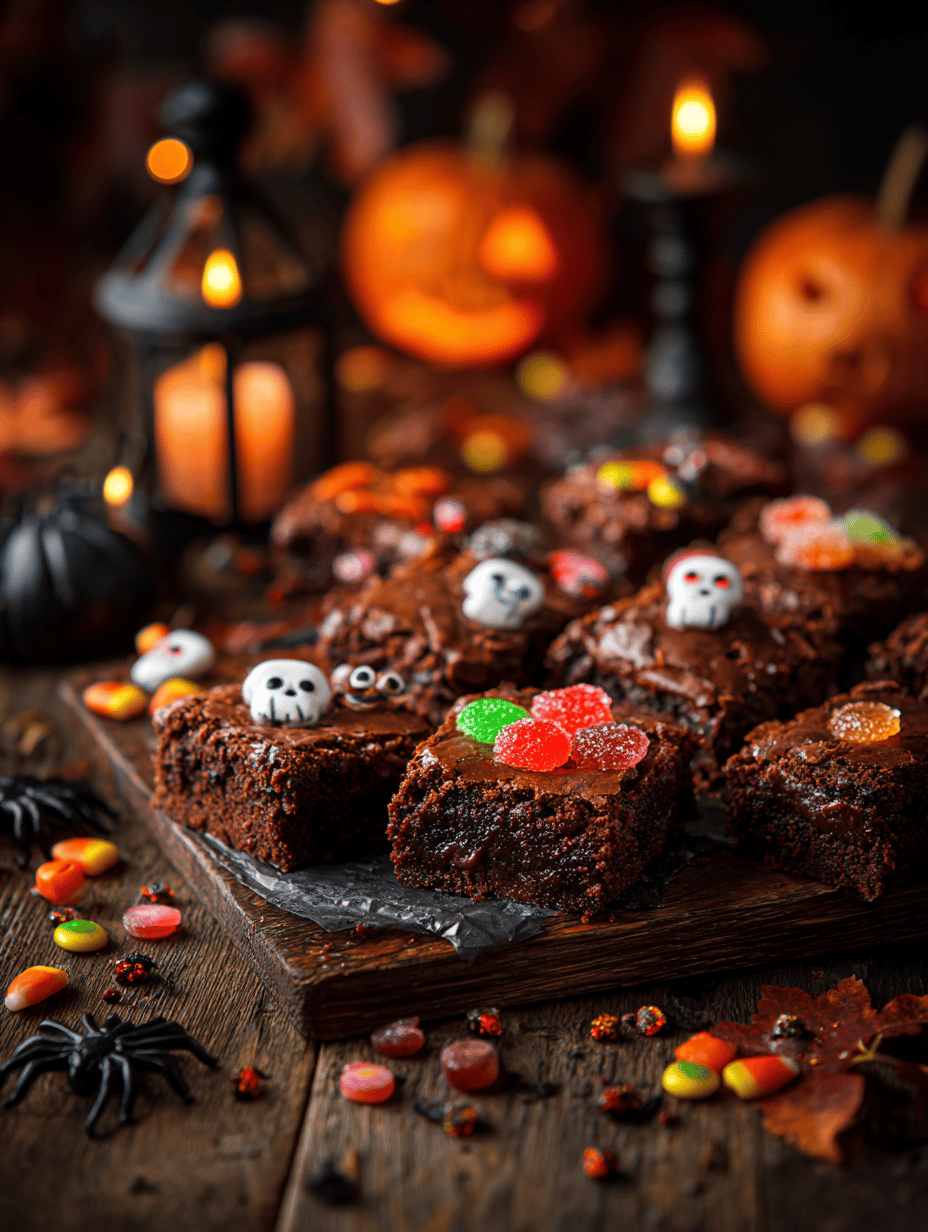
I’ve always loved the idea of turning something familiar into a creepy spectacle for Halloween. These brownies are my go-to for a quick, impressive spooky snack that’s also deeply chocolatey and rich. The best part? You can customize the decorations to match your haunted vibe, making each batch uniquely terrifying.
Why Make These Brownies Again and Again
They’re quick to whip up, look wicked fun, and taste like a dark chocolate dream. Every year, I find new ways to zombie-ify them, which keeps the process fresh and the kids (and grown-ups) totally hooked. Plus, the smell of melting chocolate and baked brownie wafts through the house—an irresistible call to the spooky kitchen.
Ingredient Secrets and Swaps
- Dark chocolate: Gives that intense, rich flavor, but you can swap with semi-sweet if you prefer milder notes.
- Cocoa powder: Adds depth and a smoky boost. Use Dutch-processed for a smoother, less acidic taste.
- Butter: The base for that fudgy texture. Coconut oil can be a dairy-free alternative.
- Eggs: Bind everything together. Flax eggs (1 tbsp flaxseed + 3 tbsp water) work well for vegan vibes.
- Sugar: Sweetens and balances the bitterness. Brown sugar adds a caramel touch.
- Decorative icing or melted chocolate: For creepy faces and designs. Use colored candies or sprinkles for more chaos.
Tools of the Spooktrade
- Mixing bowls: For combining the wet and dry ingredients.
- Double boiler or microwave: To melt butter and chocolate gently.
- Parchment paper: To line the baking pan for easy removal.
- Sharp knife or decorating tools: To cut and create spooky designs.
- Wire cooling rack: To cool the brownies evenly.
Guided Steps for a Creepy, Delicious Finish
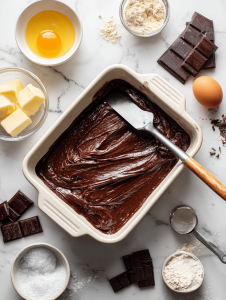
Step 1: Preheat your oven to 175°C (350°F). Line a 20x20cm (8×8 inch) baking pan with parchment, letting edges hang over for easy removal.
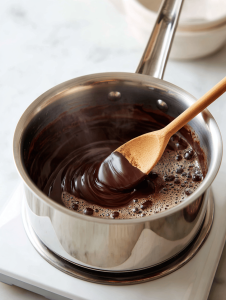
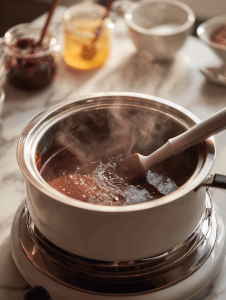
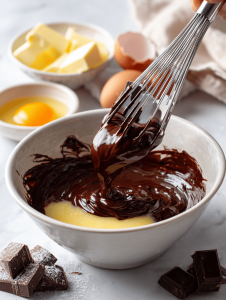
Step 2: Melt 125g (1/2 cup) butter and 200g (7 oz) dark chocolate together in a double boiler or microwave, stirring until smooth.
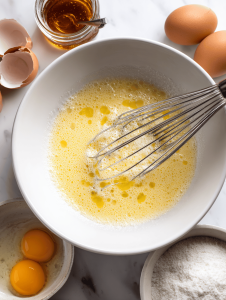
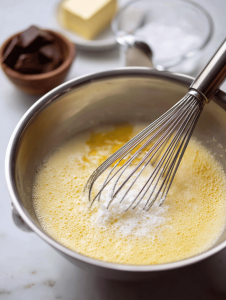
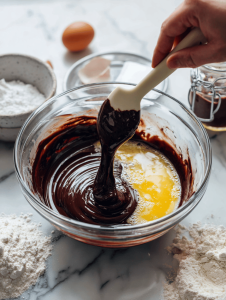
Step 3: In a bowl, whisk 3 eggs with 150g (3/4 cup) sugar until slightly foamy, then mix in the cooled chocolate blend.
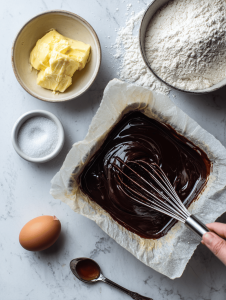
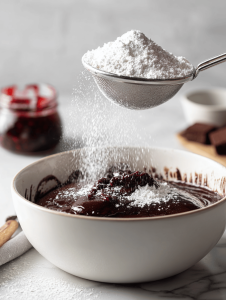
Step 4: Fold in 100g (3/4 cup) all-purpose flour, 30g (1/4 cup) cocoa powder, and a pinch of salt. Don’t overmix—just combine.
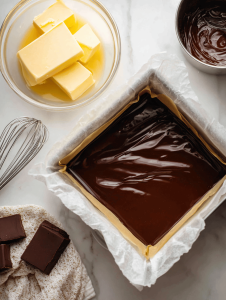
Step 5: Pour batter into your prepared pan, spreading evenly. Bake for 20-25 min, until the edges set but the center still jiggles slightly.
Step 6: Let cool in the pan for 15 minutes, then lift out using the parchment overhang. Cool completely on a wire rack.
Step 7: Once cool, cut into squares. Use black icing or melted dark chocolate to draw creepy designs or faces on each brownie.
Cooking Cues and Tips to Nail It
- The batter should be glossy and thick, not runny. If too thin, add a little more flour.
- Edges should be firm and slightly crackled, but the center still jiggles when gently shaken.
- Brownies are done when a toothpick inserted near the center comes out with moist crumbs, not wet batter.
Common Pitfalls and How to Dodge Them
- Batter spills over during baking.? OVERCROWDED PAN → Use a smaller pan or bake in batches to avoid uneven baking.
- Brownies are too dry or crumbly.? UNDERCooked center → Extend baking time slightly or test with a toothpick.
- Chocolate burns or becomes grainy.? Chocolate seizes → Melt slowly and gently, stirring constantly.
- Designs run or smudge when touching.? Decorations smudge → Let icing set before stacking or storing.
Spooky Halloween Brownies
Ingredients
Equipment
Method
- Preheat your oven to 175°C (350°F) and line an 8-inch square baking pan with parchment paper, letting the edges hang over for easy removal.
- Combine the butter and chopped dark chocolate in a double boiler or microwave, heating gently and stirring until smooth and glossy, filling the kitchen with a rich chocolate aroma.
- Whisk the eggs and sugar together in a large bowl until slightly frothy and the mixture becomes lighter in color, about 2 minutes.
- Pour the cooled chocolate mixture into the egg and sugar blend, gently folding until combined and smooth.
- Sift the flour and cocoa powder into the bowl, then fold gently until just incorporated, taking care not to overmix to keep the brownies fudgy.
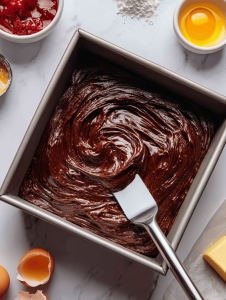
- Pour the batter into your prepared pan, spreading it evenly with a spatula to create a smooth surface.
- Bake in the preheated oven for 20-25 minutes, until the edges are set and slightly cracked, but the center still jiggles gently when shaken.
- Remove the pan from the oven and let the brownies cool in the pan for about 15 minutes, then lift them out using the parchment overhang and transfer to a wire rack to cool completely.
- Once cooled, cut the brownies into squares using a sharp knife, creating clean edges.
- Use decorative icing or melted dark chocolate to draw creepy faces or designs on each brownie, adding spooky flair for Halloween.
- Let the decorations set for a few minutes before serving, ensuring your spooky brownies are ready to impress and delight.