
Mummy brownies are not your usual chocolate square. They’re inspired by a frantic, joyful bake session in my childhood kitchen, where everything was a little chaotic but delicious. This recipe is about embracing imperfection—cracks, uneven edges, and all—because that’s what makes them special. Why I Keep Coming Back to These […]
Desserts
Spiderweb Donuts: A Tangled Twist on a Classic Sweet
I stumbled on the idea of spiderweb donuts during a chaotic bakery shift. They feel like a small act of rebellion—messy, a little spooky, but undeniably fun. Baking these feels like threading a web of sugar and flour, each step a tiny act of patience and playfulness. Why These Donuts […]
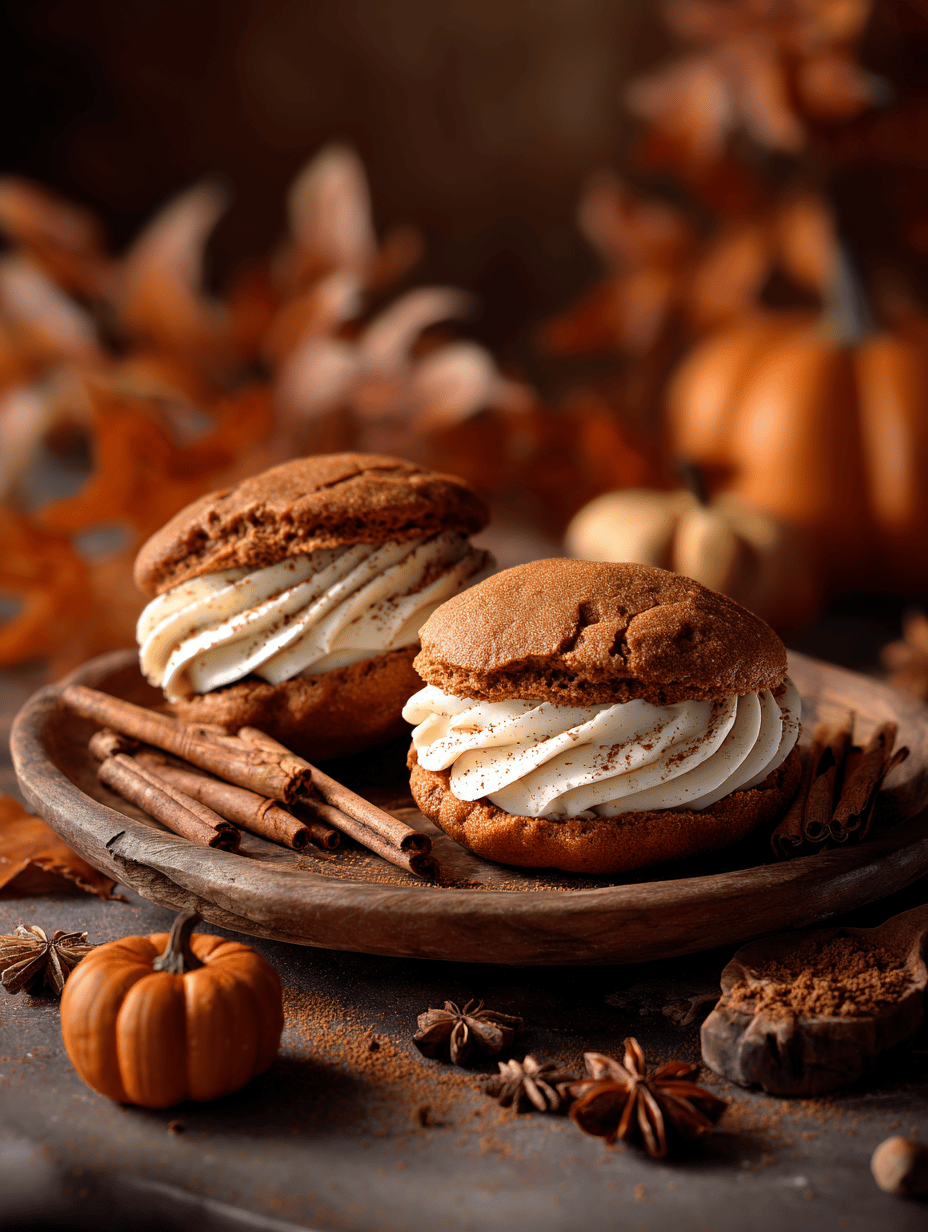
A Hidden Twist on Pumpkin Whoopie Pies: The Unexpected Spice Balance
Pumpkin whoopie pies carry a cozy, fall vibe, but I’ve always loved how they adapt beyond the season. There’s something about the soft, spiced cake paired with creamy filling that feels like a tiny celebration. I like to think of them as a sweet little canvas, waiting for a splash […]
Halloween Trifle: A Spooky Layered Delight with a Twist
Halloween is the one time I let my dessert go wild. This trifle is my way of embracing chaos—layers of color and flavor that look as spooky as they taste. It’s an easy build, but each layer should feel deliberate, almost like a mini art project in the kitchen. Why […]
Unconventional Halloween Cake Pops: A Spooky Spin with a Surprise Center
These Halloween cake pops started as a way to make spooky treats more playful and less fussy. The surprise filling adds a fun, chaotic element that keeps everyone guessing. I love how each batch feels like a tiny, edible mystery—crunch, goo, and all. Plus, they’re surprisingly forgiving for a holiday […]
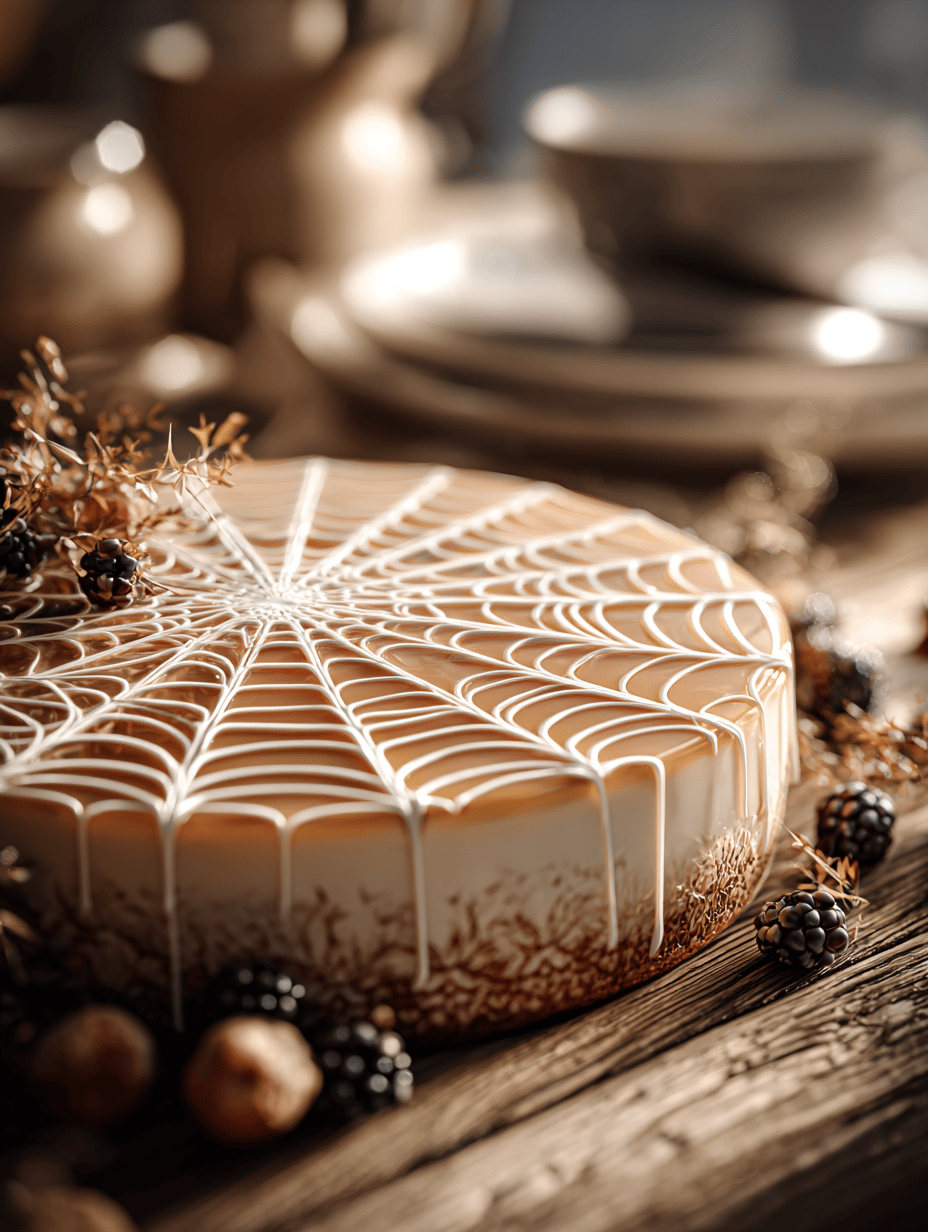
Spiderweb Cheesecake: A Rich, Intricate Dessert with a Touch of the Unexpected
The idea of a spiderweb cheesecake might seem a bit whimsical, but it’s really a story of patience and detail. I fell for it during a holiday baking spree, drawn by the intricate design and the promise of creamy richness beneath. It’s not just dessert; it’s a conversation starter, a […]
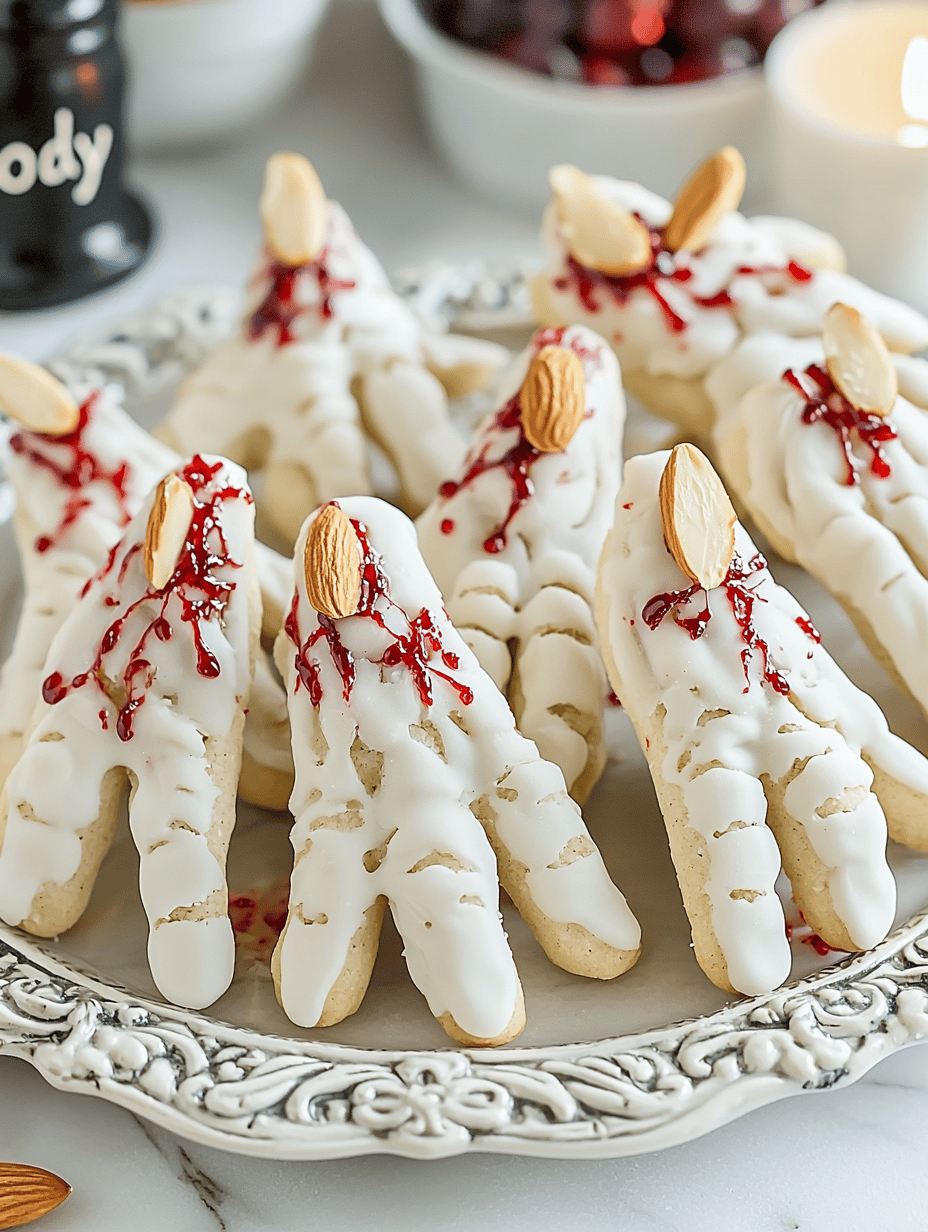
Wickedly Delightful Halloween Witch Finger Cookies
The eerie allure of Halloween often calls for treats that thrill the eyes as much as the taste buds. These Witch Finger Cookies are not just spooky but crafted with a strange charm that makes them irresistible, even in a haunted house. Carefully molded and baked to mimic gnarled witch […]
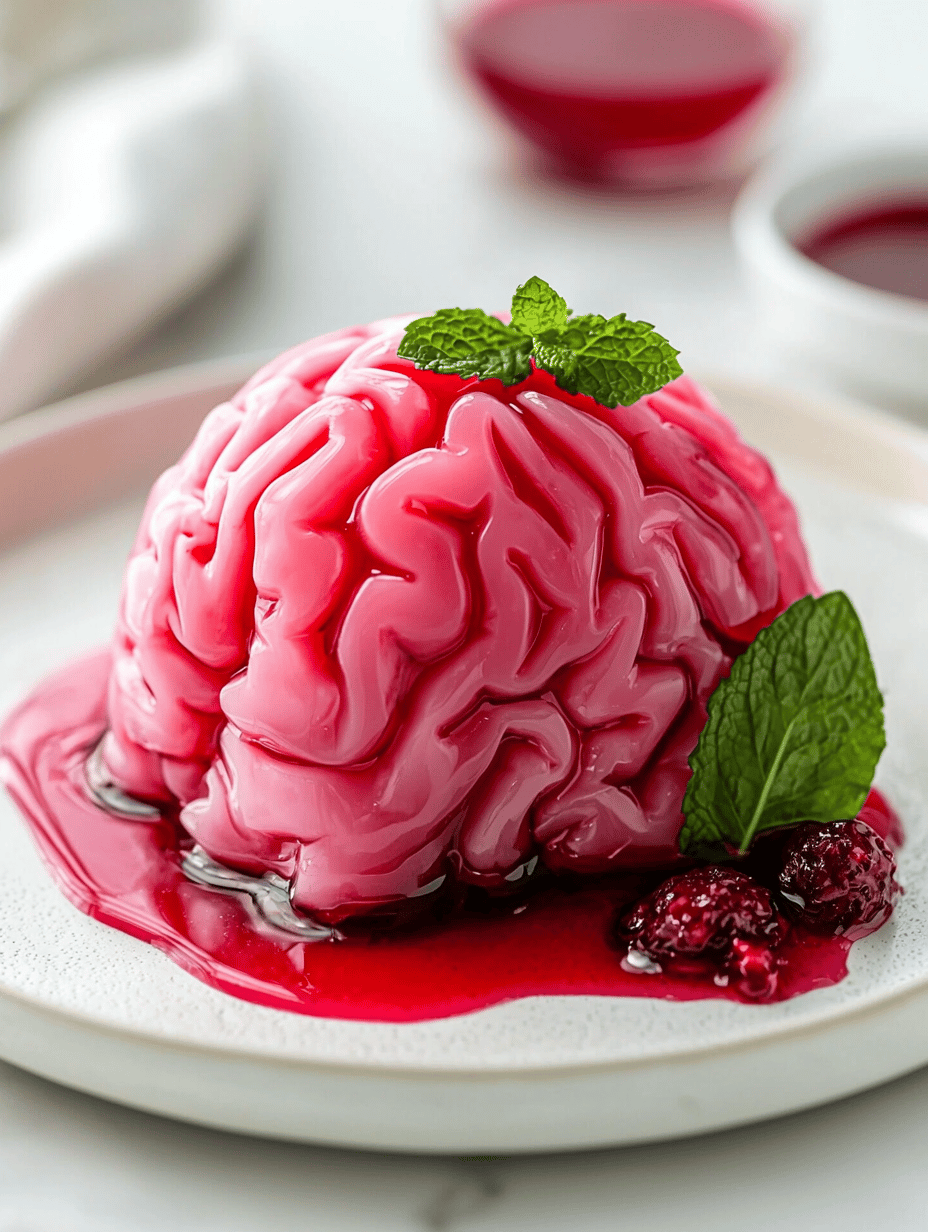
Sinister Smiles: The Halloween Brain Jello Mold
The sight of a lumpy, pinkish brain staring back at you from the dessert table is enough to send shivers down the spine. Crafting this Halloween Brain Jello Mold became a delightful experiment in combining creepy aesthetics with playful flavors. The aromatic scent of fruity gelatin mingling with a hint […]

Sun-Kissed Peach Crumble: A Nostalgic Summer Delight
There’s something magical about the scent of ripe peaches bubbling under a golden crumble. It transports me straight back to lazy summer afternoons at my grandparents’ orchard, where peaches were fresh and flavors were pure. This recipe captures that essence with just a handful of pantry ingredients and a simple […]
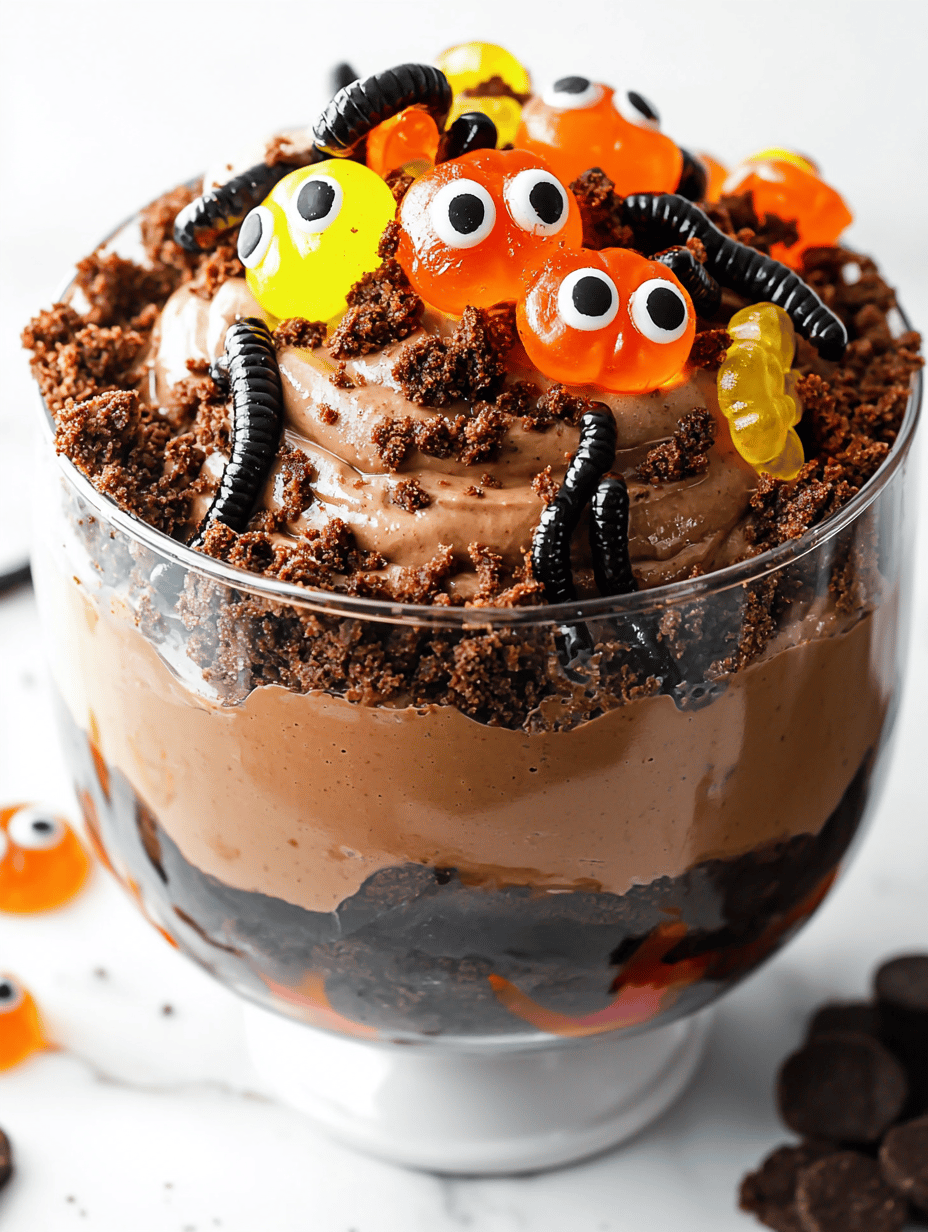
Halloween Dirt Cake with Gummy Worms: A Playful Spooky Dessert
As the leaves turn crunchy and the air gets a brisk chill, my kitchen transforms into a playground of whispers from childhood. Crafting a Halloween Dirt Cake isn’t just about satisfying a sweet tooth; it’s about conjuring up those vivid memories of mischievous scares and candy-stuffed afternoons. An unusual twist? […]