This paneer yogurt bowl is my go-to when I want something nourishing but not heavy, especially on mornings that start with a rush. I love how the creamy paneer blends smoothly with the tangy yogurt, while a sprinkle of fresh herbs adds a bright punch. It’s a simple combo, but the textures and flavors wake me up without weighing me down.
What really makes this bowl stand out is how adaptable it is. You can toss in whatever greens or crunchy toppings you have on hand, making it feel fresh and personalized every time. It’s like a blank canvas that’s quick to assemble, yet satisfying enough to keep me full for hours.
I first stumbled on this idea during a hectic week when I needed a meal that was both quick and wholesome. Since then, it’s become a staple in my kitchen, especially when I crave something familiar yet fresh. It’s proof that sometimes, the simplest ingredients can come together into something that feels surprisingly special.
This recipe is about transforming the humble paneer and yogurt into a versatile, nourishing bowl that balances creamy textures with bright, fresh flavors—perfect for those who want a quick, satisfying meal without fuss.
The story behind this recipe
- I came up with this bowl after a long trip through India where I was struck by how street vendors served simple, flavorful snacks that balanced richness with freshness. I wanted to recreate that feeling of satisfying comfort, but in a quick, everyday form. The creamy paneer and tangy yogurt remind me of those vibrant markets, where every bite is a little burst of nostalgia.
- One afternoon, I was experimenting with different textures—crisp greens, soft paneer, smooth yogurt—and realized how well they played together, almost like a little harmony on the plate. That moment of discovery turned into a go-to recipe, especially when I needed something nourishing but fast. It’s a reminder that often, the simplest ingredients can tell the most vivid stories.
- heading: The story behind this recipe
Ingredient breakdown: key components
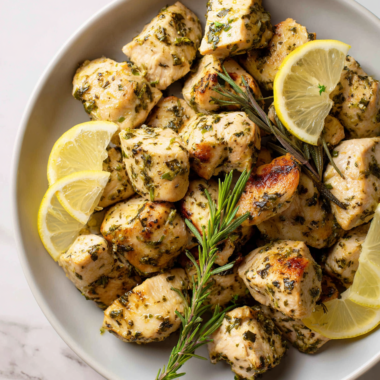
- Paneer: I love how its mild, milky flavor turns golden and slightly crisp when pan-fried—try a quick sear for extra texture, but skip if you want it softer.
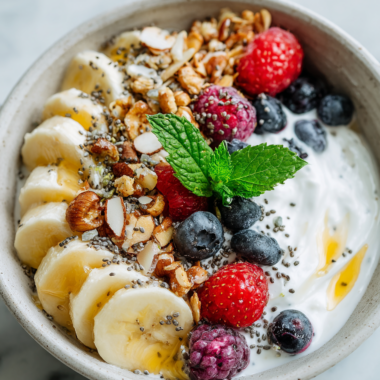
- Greek yogurt: It’s the creamy backbone here, tangy and thick. If you prefer a lighter touch, swap with kefir, which adds a bit more zing and less richness.
- Fresh herbs: Cilantro and mint brighten everything up with their fresh, almost citrusy aroma. Dried herbs can work in a pinch, but won’t give you that lively punch.
- Lemon juice: I squeeze it right before serving, adding a zing that cuts through the richness. A splash of apple cider vinegar can substitute for a different kind of brightness.
- Crunchy toppings: Toasted nuts or seeds add a satisfying contrast. I recommend almonds or pumpkin seeds—they add a smoky aroma and a bit of chew, but sunflower seeds are fine if you want milder flavor.
- Seasonings: A pinch of cumin or chaat masala elevates the dish with warm, earthy notes. Use sparingly at first—these can be strong and overpower if you’re heavy-handed.
- Olive oil: A drizzle adds a subtle fruitiness and helps meld flavors. If you’re out, a splash of sesame oil can lend a nutty depth, but use sparingly to avoid overpowering the delicate flavors.
Spotlight on key ingredients
Paneer and Yogurt:
- Paneer: I love how its mild, milky flavor turns golden and slightly crisp when pan-fried—try a quick sear for extra texture, but skip if you want it softer.
- Greek yogurt: It’s the creamy backbone here, tangy and thick. If you prefer a lighter touch, swap with kefir, which adds a bit more zing and less richness.
Notes for ingredient swaps
- Dairy-Free: Swap paneer for firm tofu—softer but still holds shape, milder flavor. Keep in mind it won’t crisp as much.
- Vegan Yogurt: Use coconut or almond yogurt for a dairy-free tang. Expect a slightly richer or nuttier note.
- Herbs: Fresh basil or parsley can replace cilantro and mint. They add different brightness but still fresh and lively.
- Citrus: Lime juice can replace lemon for a slightly different tang—more floral and less sharp.
- Crunchy Toppings: Use roasted chickpeas or crispy lentils if nuts/seeds aren’t available—add satisfying crunch with a different flavor profile.
- Seasonings: Garam masala or turmeric can be substituted for cumin and chaat masala—warm, earthy, and vibrant flavors.
- Oil: Avocado oil or toasted sesame oil can replace neutral oils—bring their own nutty aroma and depth, use sparingly.
Equipment & Tools
- Non-stick skillet: To fry and crisp the paneer evenly without sticking.
- Spatula: For turning and removing the paneer gently.
- Small bowl: To hold lemon juice and mix seasonings.
- Serving dish: To assemble and present the bowl attractively.
Step-by-step guide to Paneer Yogurt Bowl
- Gather your equipment: a non-stick skillet, a spatula, a small bowl, and a serving dish. The skillet is for crisping paneer, spatula for flipping, bowl for mixing, and dish for serving.
- Cut paneer into 1 cm (0.4 inch) cubes. Keep them uniform for even cooking. Set aside.
- Heat the skillet over medium heat (about 160°C/320°F). Add a teaspoon of oil—preferably neutral like vegetable or canola.
- Once the oil shimmers, add the paneer cubes. Fry undisturbed for 2-3 minutes until golden on one side. Turn with spatula and cook another 2-3 minutes, until all sides are golden and crispy.
- Check the paneer: it should be firm but tender inside, with a crisp exterior. If it’s too soft, cook a minute longer; if burnt, turn down heat.
- Meanwhile, in a small bowl, squeeze fresh lemon juice, about 1 tablespoon, and set aside for finishing.
- As soon as the paneer is crispy, transfer it to a paper towel-lined plate briefly to drain excess oil.
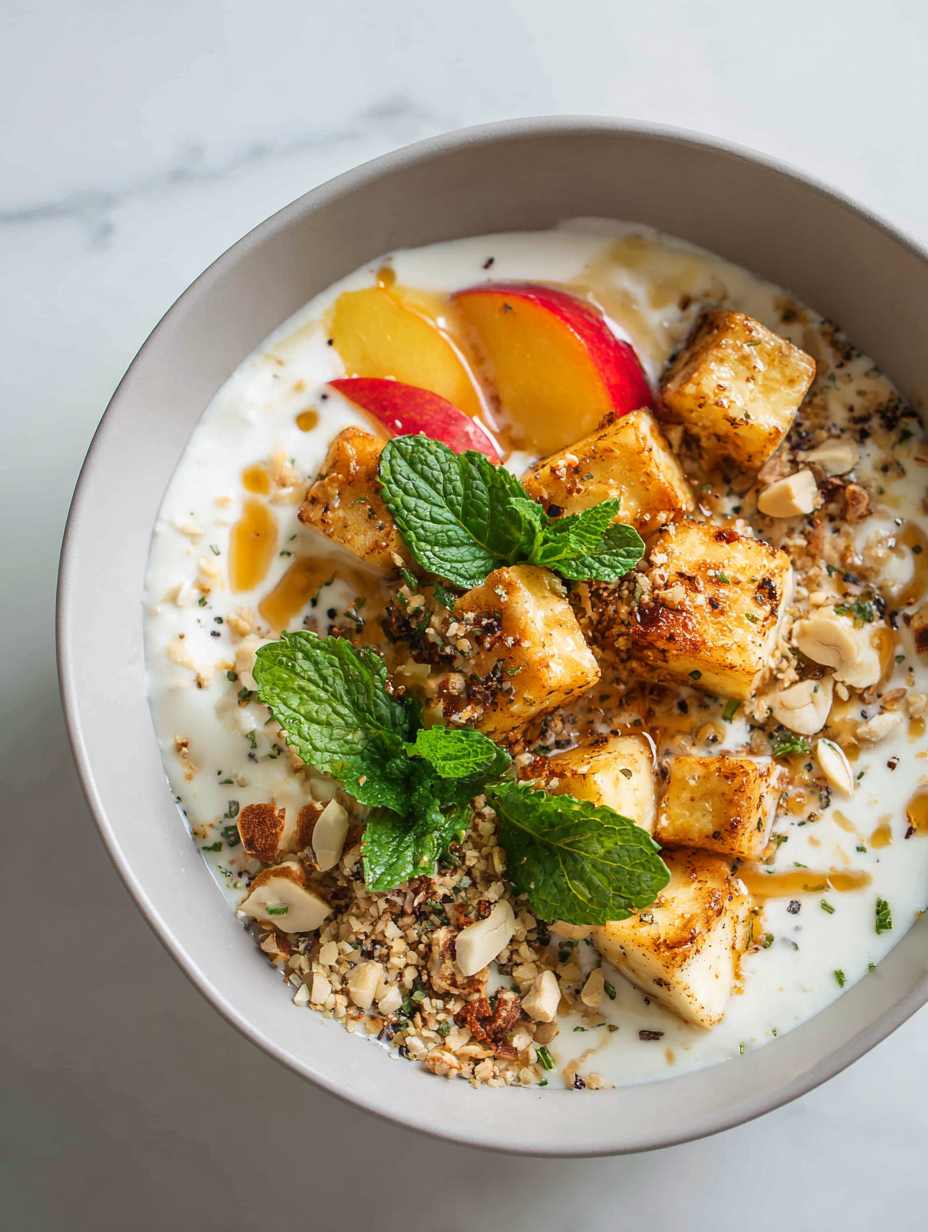
- In the serving dish, spoon a generous layer of Greek yogurt. Swirl it slightly for a marbled look.
- Add the warm paneer cubes over the yogurt. Sprinkle with chopped fresh herbs—cilantro and mint—liberally.
- Finish with a squeeze of lemon juice. For extra crunch, sprinkle toasted seeds or nuts on top.
- Serve immediately, while the paneer is warm and crispy, with the tangy yogurt balancing the richness.
Serve immediately while warm. Finish with fresh herbs and lemon. For a more pronounced flavor, let the paneer sit for 5 minutes before assembling, so flavors meld slightly but crispiness remains.
How to Know It’s Done
- Paneer: golden and crispy on all sides, not burnt.
- Yogurt: smooth, creamy, and slightly tangy, with no watery separation.
- Final dish: vibrant herbs, fresh lemon aroma, and a balanced mix of textures.
Paneer Yogurt Bowl
Ingredients
Equipment
Method
- Heat a non-stick skillet over medium heat and add a teaspoon of olive oil, swirling to coat the surface.
- Add the paneer cubes to the hot skillet in an even layer. Cook undisturbed for about 2-3 minutes until the bottoms are golden brown, then flip gently with a spatula to cook all sides until crispy and golden, about another 4-5 minutes. The paneer should be firm and slightly crispy on the outside.
- Meanwhile, squeeze fresh lemon juice into a small bowl and set aside. Chop the fresh herbs finely and prepare your toasted seeds for topping.
- Once the paneer is crispy, transfer it to a paper towel-lined plate to drain excess oil. Let it cool slightly so it retains its crunch.
- Spread the Greek yogurt evenly in your serving dish, creating a creamy base for the bowl.
- Arrange the warm, crispy paneer cubes on top of the yogurt, distributing evenly across the surface.
- Sprinkle the chopped fresh herbs generously over the paneer and yogurt for a burst of brightness and flavor.
- Squeeze the fresh lemon juice over the bowl to add a zesty, tangy note that cuts through the richness.
- Finish by sprinkling toasted seeds over the top for crunch and visual appeal.
- Serve immediately while the paneer is still warm and crispy, enjoying the contrast of textures and fresh flavors in every bite.
Pro tips for perfect paneer bowls
- Use high-quality paneer for better flavor and crispness—fresher often means tastier.
- Keep the heat moderate when frying paneer—too hot and it burns; too low and it won’t crisp.
- Add lemon juice just before serving to preserve its bright, zingy freshness—avoid pre-marinating.
- Toast nuts or seeds until fragrant and lightly browned—this enhances flavor and crunch.
- Gently jiggle the skillet during frying to ensure even crisping and prevent sticking.
- Use a non-stick skillet for easier flipping and less oil—less mess, more control.
- When serving, sprinkle herbs and toppings immediately—preserves their vibrant aroma and texture.
Common mistakes and how to fix them
- FORGOT to drain excess moisture → Pat paneer dry before frying.
- DUMPED the spices directly into oil → Toast spices first for better flavor release.
- OVER-TORCHED the paneer → Cook at medium heat, turn frequently to prevent burning.
- MISSED balancing acidity → Add lemon juice gradually, tasting as you go.
Quick fixes and pantry swaps
- If it’s too dry, splash a little water or more yogurt to loosen textures.
- When paneer sticks, add a tiny drizzle of oil and gently nudge it loose.
- Splash lemon juice when the bowl needs a brighter, fresher burst.
- Patch burnt spices by quickly removing from heat and adding fresh herbs for aroma.
- Shield delicate toppings with a light sprinkle of salt or oil if they look dull.
Prep, store, and reheat tips
- Prepare the paneer by cutting into cubes and refrigerate for up to 24 hours; it firms up slightly and stays fresh.
- You can make the yogurt mixture and chop herbs a day ahead; store separately in airtight containers in the fridge for 1-2 days.
- Crisp the paneer just before serving for the best texture; reheating results in less crunch and slightly softer paneer.
- Store leftovers in an airtight container in the fridge for up to 24 hours; the flavors meld and intensify slightly, but texture softens.
- Reheat paneer in a hot skillet for 1-2 minutes until crispy again, listening for that satisfying crackle, before assembling.
FAQ about Paneer Yogurt Bowl
1. Can I make this dairy-free?
You can use firm tofu as a dairy-free substitute for paneer, which gives a similar soft texture but won’t crisp up the same way.
2. What’s a good dairy-free alternative?
Swap Greek yogurt with coconut or almond yogurt for a vegan option. Expect a slightly nuttier or richer flavor, but still tangy and creamy.
3. Can I use dried herbs?
Use fresh herbs like cilantro and mint for the brightest flavor. Dried herbs can work but won’t provide the same fresh punch.
4. What can I replace lemon juice with?
Lemon juice adds a zest of brightness. Lime juice can be used as a substitute for a slightly different, floral acidity.
5. Can I use different crunchy toppings?
For crunch, toasted nuts like almonds or seeds such as pumpkin or sunflower seeds work well. If nuts aren’t available, crispy chickpeas are a good alternative.
6. What seasonings can I swap in?
Garam masala or turmeric can replace cumin and chaat masala for warm, earthy notes. Use sparingly to avoid overwhelming flavors.
7. What oil is best for frying?
Neutral oils like vegetable or canola are best for frying paneer. For a nutty aroma, a splash of sesame oil works, but use sparingly.
8. How should I store leftovers?
Store prepared paneer cubes in the fridge for up to 24 hours. Reheat in a hot skillet to regain crispness before serving.
9. Can I prepare this in advance?
The yogurt mixture and herbs can be prepped a day ahead. Keep refrigerated separately, and assemble just before eating for best freshness.
10. What if my bowl turns out soggy or burnt?
If the paneer gets soggy, reheat in a hot skillet for a minute or two to restore crispness. Overcooked or burnt spices can be fixed by adding fresh herbs and lemon.
This bowl isn’t just about quick nourishment; it’s about capturing that moment of simplicity and flavor. Every bite reminds me how humble ingredients, when treated with care, can bring a surprising depth to the table.
In these busy times, it’s good to have a recipe that’s flexible and forgiving, yet still satisfying. It’s a little reminder that sometimes, the best meals come from honest, unpolished approaches that focus on flavor and feeling.